The Incredible Food Journey of 2021


The Incredible Food Journey of 2021 Read More »
The Incredible Food Journey of 2021 Read More »

Zhũròu means pork (literally: pig meat) in Chinese. This post is an appreciation post in an ode to my ongoing love affair with all pork dishes. While I have never had the courage to cook pork at home, I have had dishes all round the world and in India as well which have made me go cross-eyed. This meat is not very common in India, however, there are some fabulous places to go to where you can satisfy your pork craving.
My recommendations for Mumbai are:
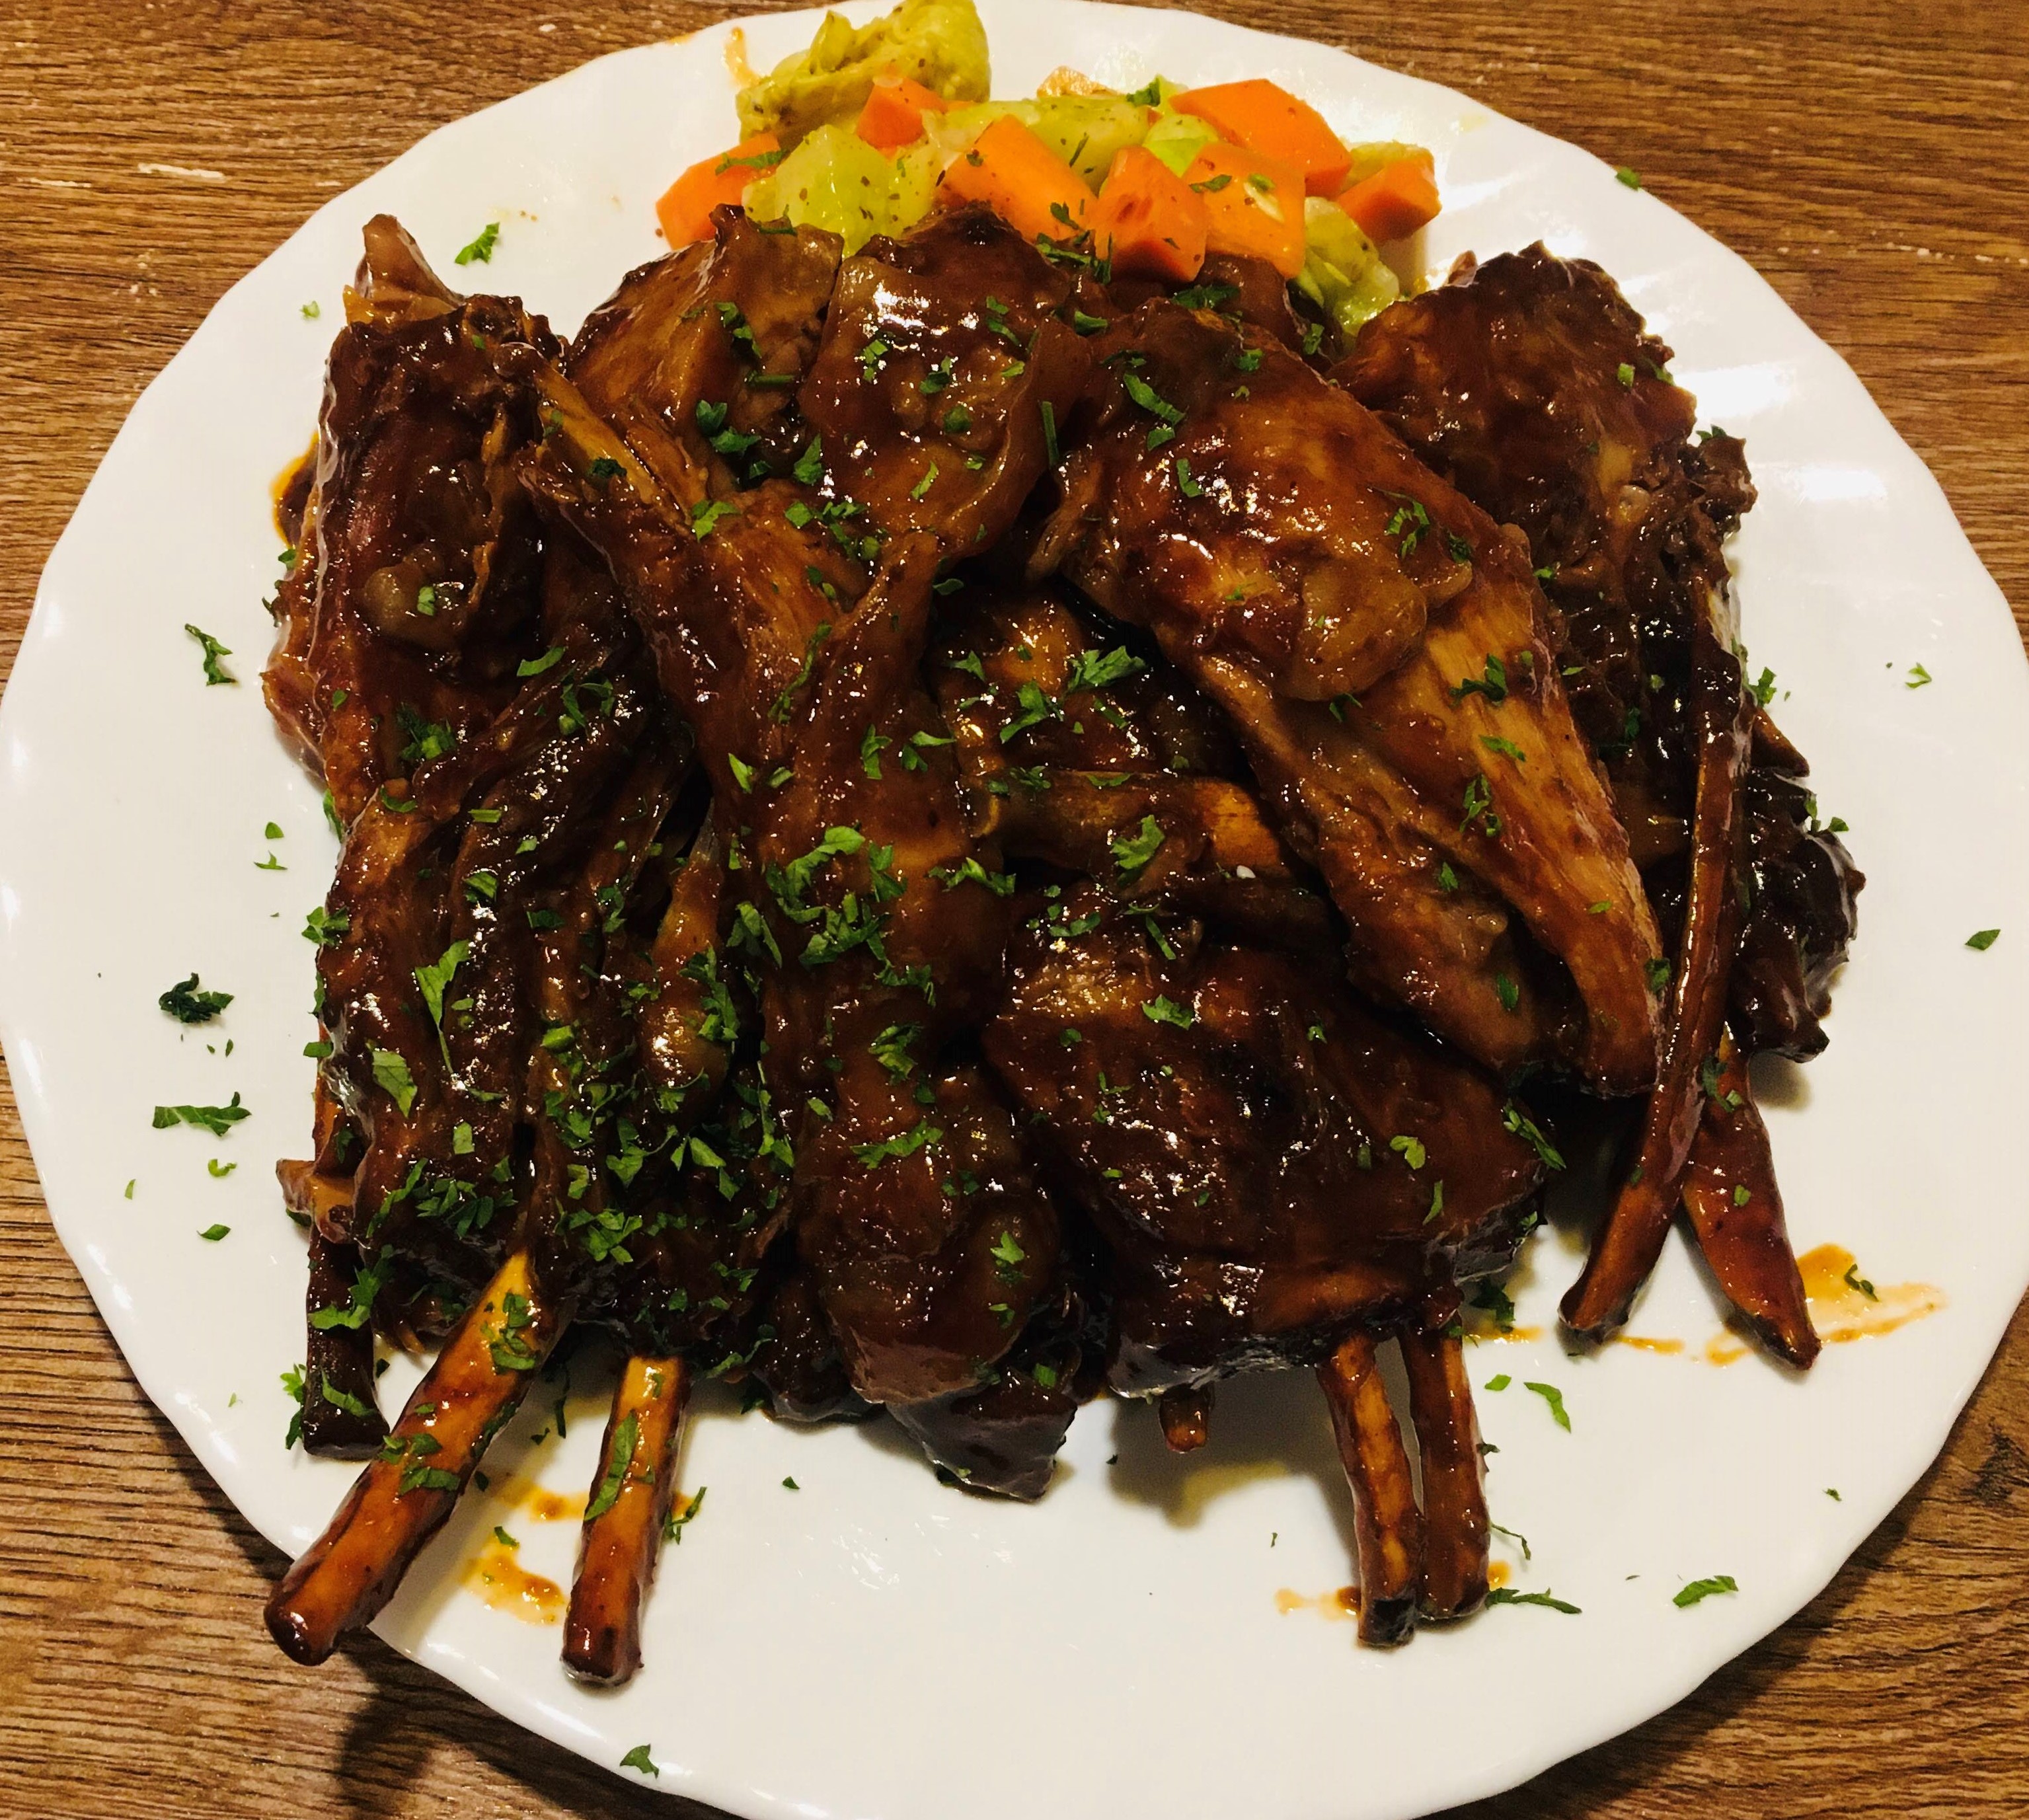


In everyday life, I have bacon for breakfast occasionally and ham salami for sandwiches. With mayonnaise and cheese, these make for the ultimate breakfast sandwiches!
This post was written for Blogchatter A2Z challenge; Final Day! Letter no. 26 – “Z”.

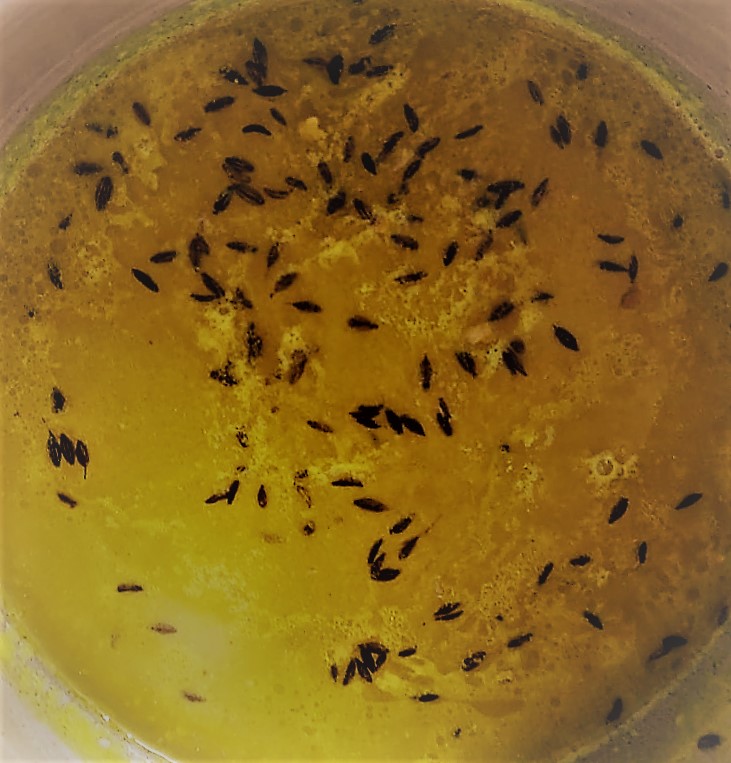
Another quintessential Bengali dish, this recipe is my mother’s – though I suspect it is the same across most bengali households. Daal is a part of a bengali’s daily lunch however the masoor daal is more common. This yellow moong daal dish is made occasionally and is considered a delicacy somewhat – a king among daal if you will. It’s called sona moong because of its bright golden colour – sona means gold or golden. This golden variety of the moong is indigenous to Bengal.
Yellow Moong – 6-7 tbsp.
Salt – to taste
Turmeric powder – 1 tsp.
Oil – 1 tsp.
Cumin seeds – 1 tsp.
Cumin powder – 1.5 tsp.
Ginger, grated – 1 tsp.
Green chili – 1, sliced
Sugar – 1.5 tbsp.
Water – 3-4 cups
Tip: I generally add a step after (2) and beat the boiled daal to a smooth mixture.


This post was written for Blogchatter A2Z challenge; Day 25 – Letter “Y”.
Y for Yellow Moong Daal Read More »

X factor includes those category of ingredients or food which no matter what dish it is added to, gives it an extra twist which changes the dynamics of the dish and elevates it to another level.
Chaat Masala – This is an Indian blended spice which consists of salt, cumin, dry mango, pepper, ginger etc. The exact constituents and their proportions are known only to the brands who manufacture them – which is fine by me. It lends mystery to the exotic spice. Sprinkle it over salads, raw fruits, roast chicken, your street foods like rolls, papri chaat etc. or even over your meat preparations and behold the transformation – it adds a delicious zing to any dish!
Kasundi – This is the Bengali mustard sauce, consists of local / indigenous mustard seeds which have their own special aroma, few spices and salt. It is the best accompaniment to any and all deep fried foods like fish fry, egg devil, chicken cutlet etc. None of these feel complete without our favorite dipping sauce. I have even found that dipping the side salads in kasundi gives even the salad an additional wow factor.

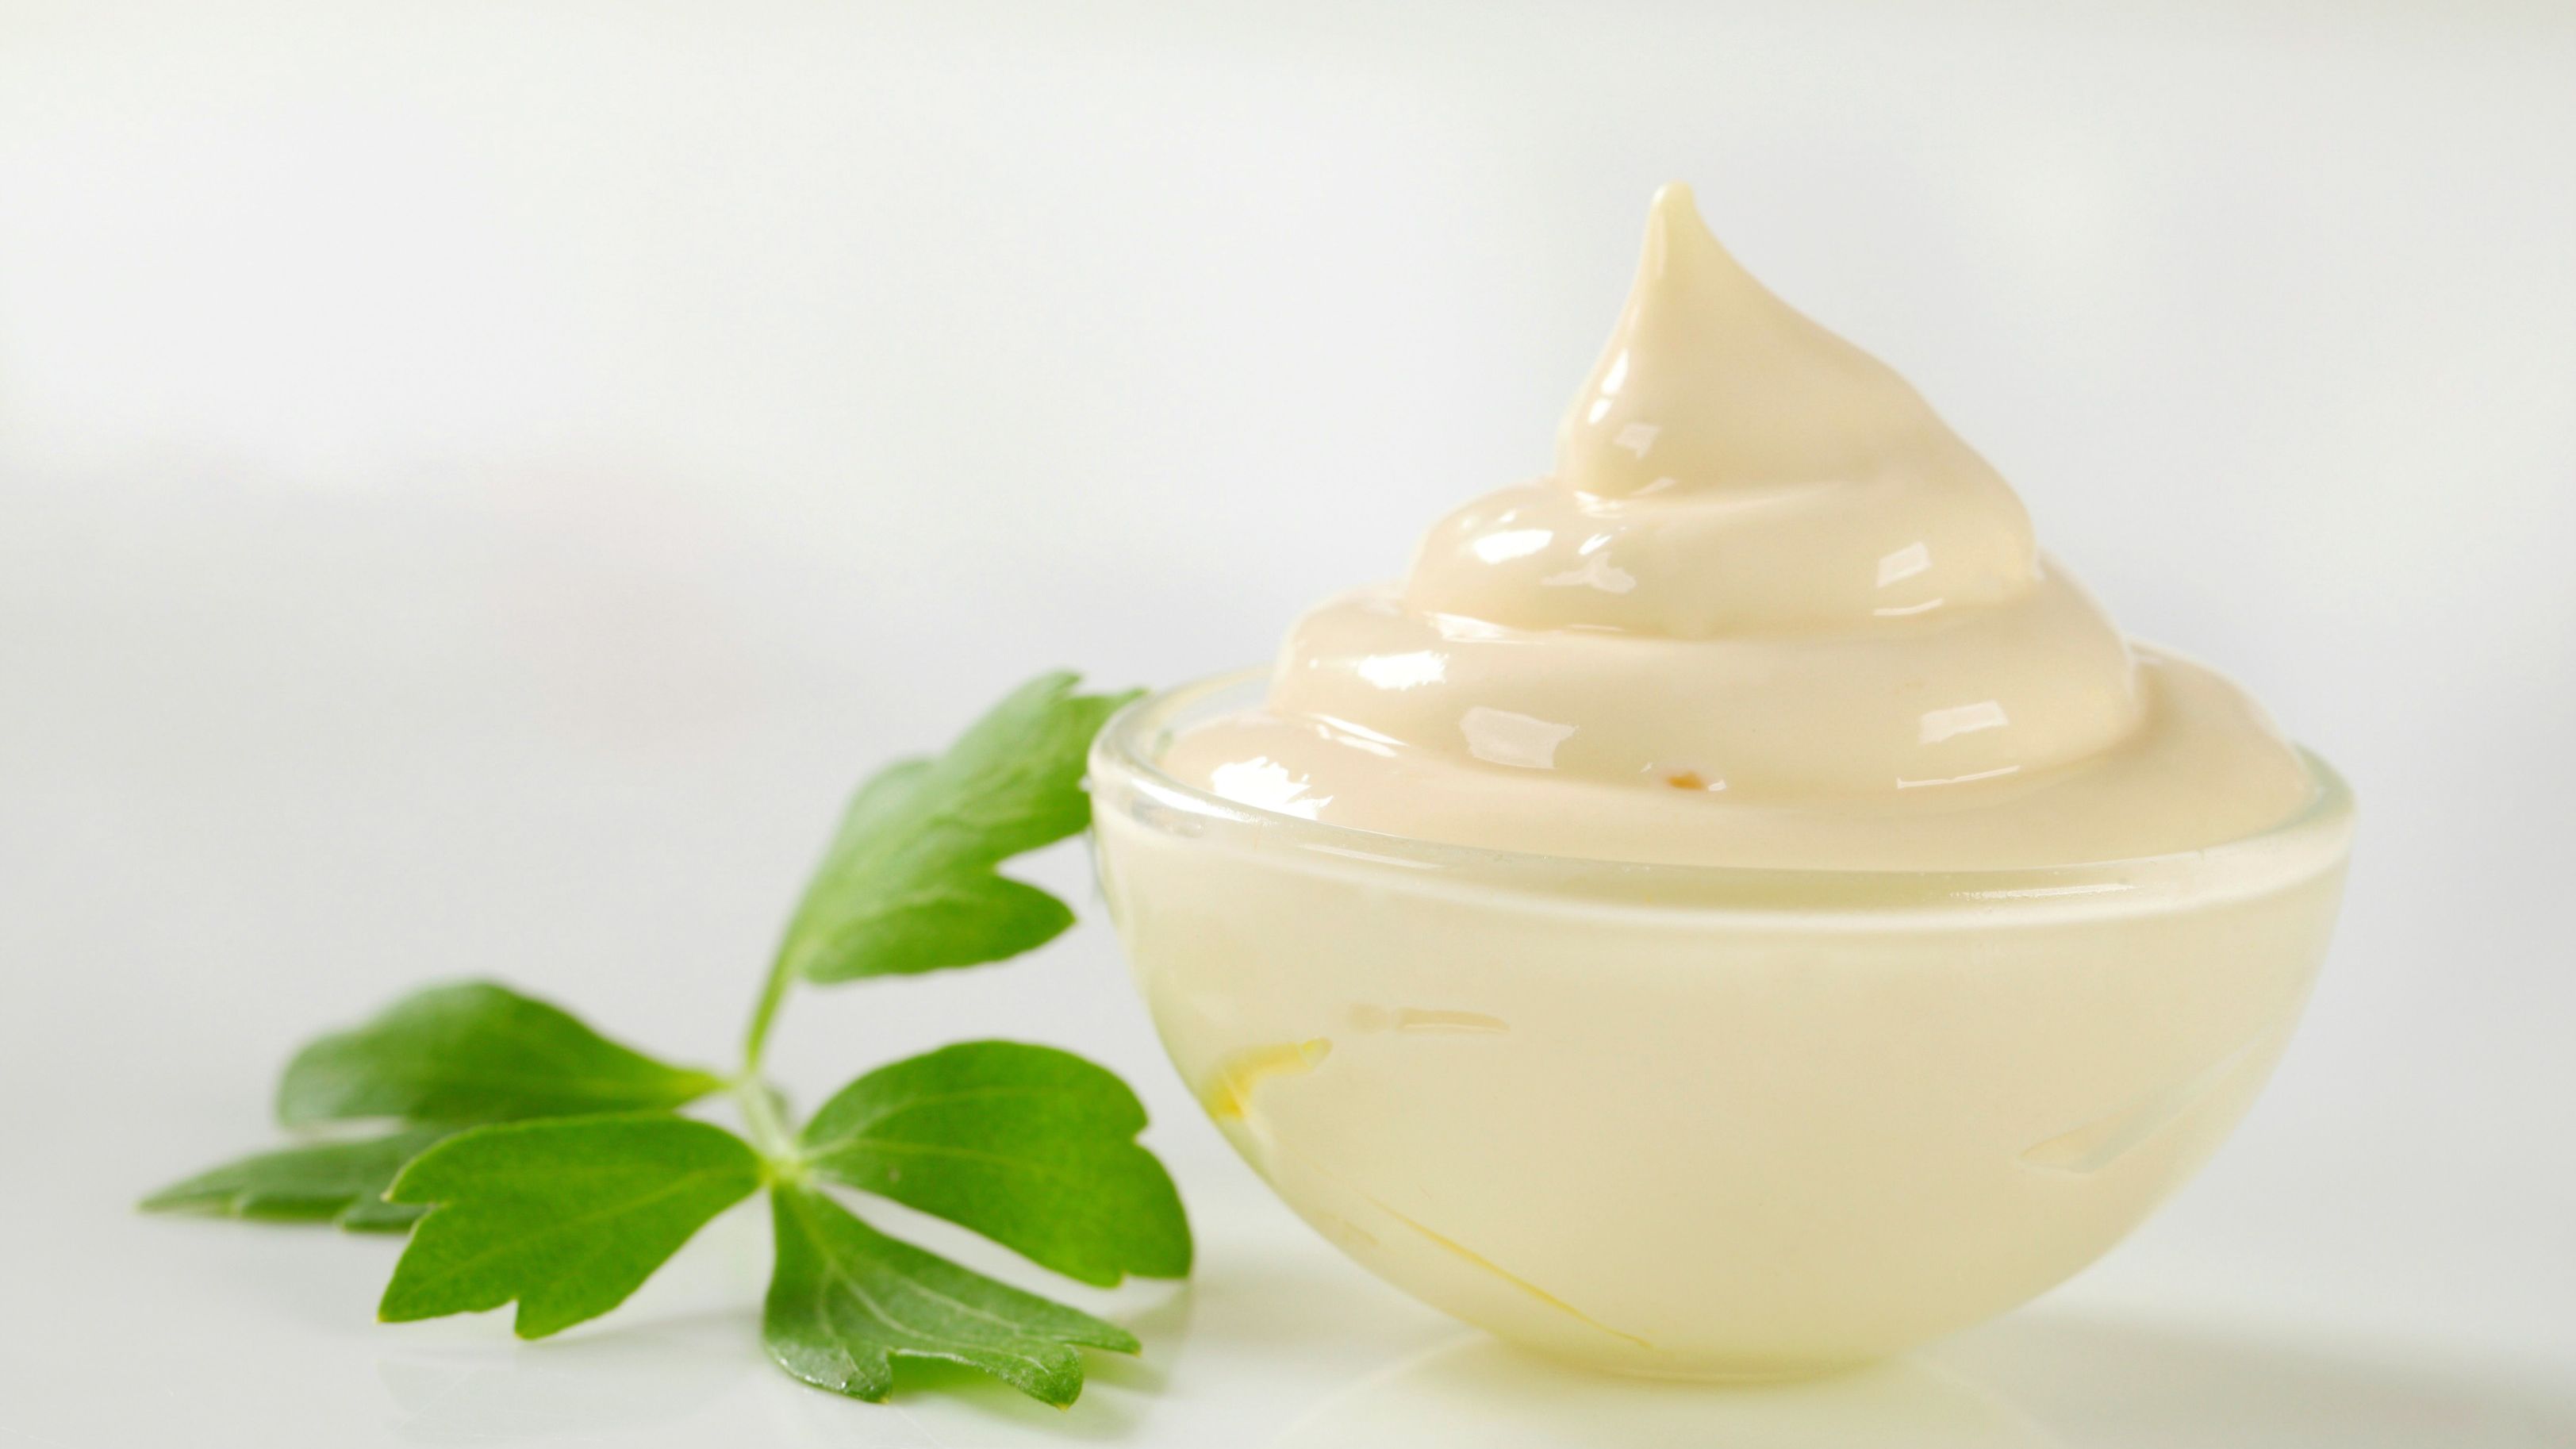
Mayonnaise – Even though this is basically a dipping sauce, the use mayonnaise is many and varied. The classic version is made of raw egg yolk, oil, vinegar, and lemon juice. However, eggless versions are also available – made of milk. Slather it onto your bread or add a dollop to your sandwich or wrap fillings – it transforms the ordinary burger into a classy one. You can also use it as a dressing for your salad! And finally, use it as a dipping sauce or aioli for your pakodas, french fries and pretty much any fried items.
Lemon Juice – A little drizzle of lemon juice can add a whole new level to any bland dish or even an already tasty dish. For example, ghoogni / chickpea masala or roast or baked fish / chicken and finally adding it to all kinds of salads.
White Sauce – While this may not have such a wide variety of uses such as the above, this Italian marvel can add such deliciousness to a lot of dishes. Add it baked vegetables, serve it with your grilled chicken and ofcourse it’s the best pasta sauce. It is made of milk, cheese, flour, and butter. Called a béchamel, it can also be used a base sauce for making sauces like mornay sauce, cream sauce etc.

Do you know of anything which falls into this category? Do share your opinion in the comments – I would be highly interested.
This post was written for Blogchatter A2Z challenge; Day 24 – Letter “X”.

This is a dish which was adopted in my kitchen out of a combination of pure laziness of a couch potato and the utter greed of a foodie. I didn’t feel like working too hard for a dinner, yet I wanted something decadent to pamper by taste buds. Even though it didn’t happen on that very day, the idea was born. It does require pre-thought to buy the main protein but the ingredients are ones found in every Indian kitchen and the steps laughably simple.
Whole Chicken – 1 (~800gms.)
Curd – 4 tbsp.
Ginger Garlic paste – 1 tbsp.
Red Chilli powder – 1 tsp.
Salt – to taste
Cumin powder – 1 tsp.
Corinader powder – 1 tsp.
Garam masala – 1 tsp.
Meat Masala – 2 tsp.
OR,
Tandoori masala – 4 tsp.
Oil – 1 tbsp.


This dish is best accompanied with garlic toast speaking from personal experience, but it is an amazing meal on its own. It requires minimal amount of intervention but it gives you the maximum enriching experience!
This post was written for Blogchatter A2Z challenge; Day 23 – Letter “W”.
W for Whole Roast Chicken Read More »

The final trio in my Italian repertoire is the Pizza. This is another universally loved dish, irrespective of nationality. The melty cheese and the spicy tomato sauce combination makes this dish the go to mood uplifter, the random evening snack, the I-don’t-feel-like-cooking dinner or simply the I-feel-like-a-pizza dish.
While I do not claim to have ever made the pizza base at home, I can do wonders with toppings and I like to make my own sauce.
Pizza Base – 2 nos. 6”
For sauce:
Tomato – 4, medium, roughly chopped
Garlic – 2 cloves, chopped
Onion – 1, small, chopped
Salt – to taste
Pepper – 3 tsp.
Oregano powder – 2 tsp.
Thyme powder – 2 tsp.
Red chilli powder – 1 tsp.
Sugar – 1 tsp.
Oil – 2 tsp.
Water – as reruired
For the topping:
Onion – 2, small
Capsicum – 1, medium
Cheese – 2 cubes
Sweet corn – ½ cup
Mushrooms – ½ cup
Bell pepper red & yellow – 1 each, small
Oil – 3 tsp.

Admittedly, I mostly make chicken pizzas and veggies are an accompanying topping to my dish, the veggies on their own make a delish pizza as well. Do try this one out.
Tip: I recently discovered Wingreens Pizza dough mix which is a premixed flour mix. You simply add water, knead and let it rest in a warm place. It triples up in size in 30/40 minutes. Then you roll out and bake for 12 minutes with your sauce and toppings. Its much better than a store bought base.
This post was written for Blogchatter A2Z challenge; Day 22 – Letter “V”.
V for Vegetable Pizza Read More »

Standing on the roadside and having spicy Phuchkas crack open in your mouth and cover your tongue with that blast of flavors – this is a feeling unparalleled. Or maybe its comparable to licking your lips after having a plate of even spicier Ghoogni (chickpea masala). This group of food is what we lovingly call “street food”. But it’s a mere label which encompasses a world of joy, taste, colors and fun.
The extreme joy that these street foods such as these can give us is something we have missed sorely for the past year. So, here’s how we can recreate that feeling by trying these dishes at home.
For the Papri/Sev:
Maida (Refined flour) – 200gms.
Salt – a pinch
Oil – 2 tsp. for dough + for deep frying
Water – ½ cup or as required
For the topping:
Potato – 2, medium
Chickpeas – 1 cup (~75gms.)
Onion – 1, medium
Curd – 1 cup (~200gms.)
Sugar – 1 tsp.
Cumin seeds – 3 tsp.
Black Salt – to taste
Jhuri bhaja / Sev – 1 cup
Sweet Tamarind Chutney:
Tamarind – 5gms. (small pulp)
Water – as required
Salt – a pinch
Sugar – 4/5 tbsp. Or as required to taste

Phuchka – 1 packet
Potato – 2, medium
Bengal gram (brown)/ chhola – ½ cup
Onion – 1, medium
Tamarind – 5 gms.
Salt – to taste
Lemon juice – 2 tsp.
Green chilli – 1
Coriander leaves – a bunch
Jaljeera – 2 tsp.
Water – 1 bowl
Tip: To make the phuchkas from scratch, watch this video: https://www.youtube.com/watch?v=pQNW67WtaYU

Puffed rice (muri / bhel) – 75 gms.
Potato – 1, medium
Onion – 1, medium
Tomato – 1, medium
Coriander leaves – 1 bunch
Green chilli – 1
Lemon juice – 1 tsp.
Salt – to taste
Tamarind chutney – 1 tbsp.
Chanachur / farsan / Sev – 2 tbsp.
Peanuts (optional) – handful
Oil (optional) – 1 tsp.

Sitting at home can be really demotivating and at times can leave you totally listless. Spicing up your lulling routine with these recipes on weekends or holidays will inject the very much required happiness in your life. For me atleast, food is joy!
This post was written for Blogchatter A2Z challenge; Day 21 – Letter “U”.
U for Ultimate Street Foods Read More »

In these troubled times, it’s very important to stay healthy. Improving your health will help boost immunity. Additionally, staying at home gives us very little opportunity for exercise so we need to stay fit by having a healthy diet. I try in my many small ways to eat nutritious food and yet make them tasty. This is such an example.
Weirdly, some of my happy memories of sipping warm tomato soup are those aboard a speeding train. Trips on trains meant it was vacation time. Nowadays, due to time constraints and other factors, majority of my recent travel are via flights but my favorite way to travel is still trains. Seated at a window, watching the world flash by while being gently rocked by the chugging train are some of by best memories. Playing card games, eating packed lunch on paper plates and claiming the upper berth for sleep. Then came those rare trips on Rajdhani and Duronto where they serve food which, in those days, seemed exotic. Part of that was steaming cups of tomato soup with soup sticks. That tangy soup coupled with colorful view outside the window was the perfect combination.
Nostalgia aside, here’s my mom’s tomato soup recipe.
Tomatoes – 6
Carrot (optional) – 1
Garlic – 4/5 cloves
Water – 4 cups
Oil – 1 tsp.
Salt – to taste
Sugar – 2 tsp.
Butter – 1 tsp.
Pepper – 1 tsp.
Tip: Optionally, for step 2, you may blend the whole boiled broth in a mixer.
Best had on a cold winter evening, but it is still a filling evening meal along with a couple of toasted breads.

This post was written for Blogchatter A2Z challenge; Day 20 – Letter “T”.

Often, we are at a loss how to make your breakfast more interesting or what to make at all. Toast sounds boring after a few days, so does cereal. Well then, what to do??
Here’s me bringing a simple solution – sandwiches! It too may sound run of the mill but take a look at the various ideas below on how to make them more interesting. You can change up between the different types which can take out the “normal” out of the equation.
Bread – 8 slices
Cucumber – 1
Onion – 1
Tomato – 1
Potato – 1, boiled
Salt – to taste
Pepper – 2 tsp. or as per taste
Butter – 4 tsp.
Cheese slice (Optional) – 4


Bread – 8 slices
Eggs – 3, boiled
Potato – 1, boiled
Salt – to taste
Pepper – 2 tsp. or as per taste
Mayonnaise – 2 tbsp.
Cheese Slice (Optional) – 4


Bread – 8 slices
Chicken – 200gms, boiled
Onion – 1, small chopped
Capsicum – ½, small, chopped
Carrot – 1, small, grated
Oil – 2 tsp.
Salt – to taste
Pepper – 1 tsp.
Mayonnaise – 2 tbsp.
Cheese (Optional) – 4

I have made these sandwiches a hundred times but unfortunately, could not find a single photo, so I’m using the closest interpretations from the world wide web.
Tip: You may add the onion-capsicum-carrot fry to the mashed egg-potato sandwich filling as well.
Tip: You can lightly fry the shredded chicken pieces with ketchup, soya sauce and chilli sauce to make a spicier filling.
Tip: If you have a sandwich toaster, you should put the egg and chicken fillings between raw bread and toast the sandwich as a whole. Enjoy with ketchup!
So now you know what to do when you run out of breakfast ideas. Use these quick and simple sandwich recipes to make your morning bright!!
This post was written for Blogchatter A2Z challenge; Day 19 – Letter “S”.

A Bengali delicacy! This may be a street food but this is one dish which is given royalty status because of its popularity and overall awesomeness. Rolled up maida (flour) flatbread filled with spiced chicken or mutton pieces, sliced onions and drizzled with sauces and garnished with masala.
A rose by any other name would still smell as sweet, said Shakespeare. The humble Bengali “roll” is called by a variety of names all round the globe, yes the globe. Called “Wraps” globally, it is called Shawarma in the Middle East, Gyro in Greece, Burrito in Mexico, Spring rolls in East Asia and Frankie in our very own Mumbai! The essence remains the same and though I do not know which can be called the “original”, what I do know – to me and to every Bengali, it will always be THE Roll!
The most favorite version is the Egg Roll which has a layer of fried egg over the flatbread and is universally the best! So here’s my recipe for Egg Roll; serves 2 (about 6 rolls).
For the flatbread:
Maida (Refined flour) – 2 cups (~300gms.)
Salt – a pinch
Oil – 2-3 tsp. for dough + 2-3 tsp. for frying
Water – ¾ cup or as required
For the filling:
Eggs – 4
Cucumber – ½, medium
Onion – 1, small,
Tomato – ½, medium
Lemon juice – 1 tsp.
Salt – to taste
Tomato ketchup – as required
Chilli sauce – as required
Chaat Masala – a pinch
Optional (Chicken filling):
Chicken – 50 gms., boiled and shredded/cubed
Onion – 1/2, thinly sliced
Capsicum – ¼, thinly sliced
Oil – 2 tsp.
Cumin powder – 1/2 tsp.
Coriander powder – ½ tsp.
Red Chilli powder – ½ tsp.

Step wise, it is actually quite a bit but the dish is worth it and the labour will be much appreciated by all who taste it. What takes so long to took will be devoured in minutes! Believe me. You can have this as a snack or as a full fledged meal.
This post was written for Blogchatter A2Z challenge; Day 18 – Letter “R”.